
Enabling CI for github projects
I’ve noticed a couple of times on visiting miscellaneous github projects that there’s been a little logo indicating the state of the CI build. Hmm, thought I… I guess there’s some service out there that can be configured. Probably a bit of a pain to get going. Maybe one day, but not today, I thought.
But today I took a deeper look, and had a go at configuring CI using travis-ci.org. And it turns out I was wrong… it’s trivially easy to get going (for my Maven-based Java projects, at any rate).
Step 1: register at travis-ci.org, with your github credentials. Travis needs them to find your repositories and to install its git commit hooks.
Step 2: per this doc, create a .travis.yml file, with the content: ` language: java `
Step 3: update your README.md with the link to the image. Eg for my java-testsupport project, the text to include was:
[]
(https://travis-ci.org/danhaywood/java-testsupport)
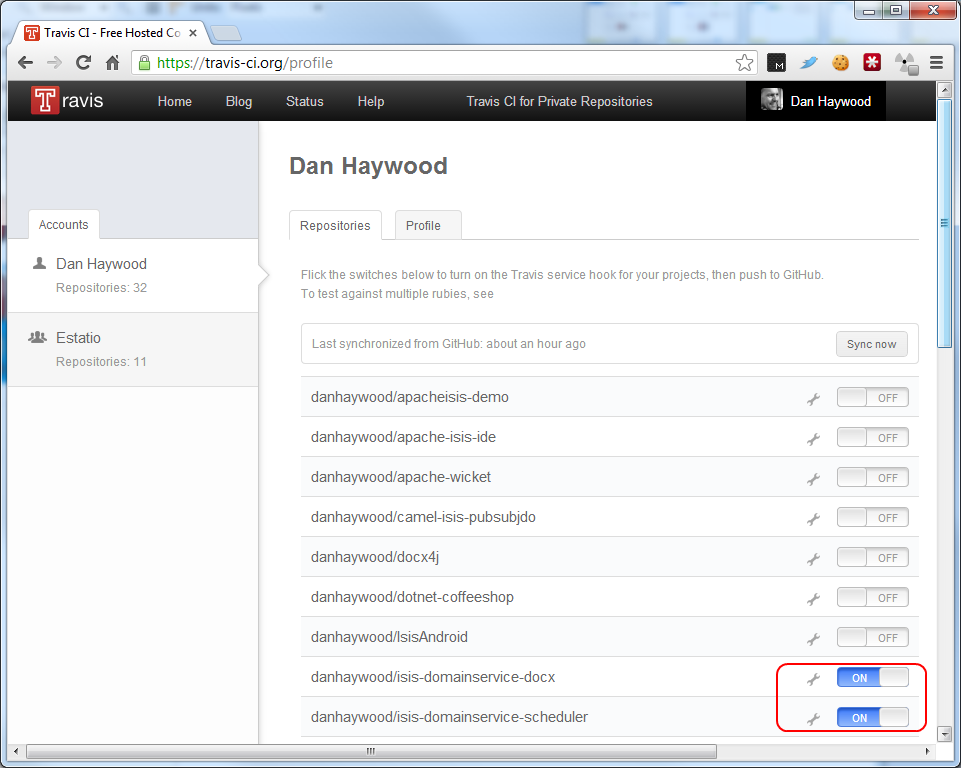
Step 4: Back in travis-ci.org, go to your profile page and flip the switch for the github repo(s) that you’ve configured:
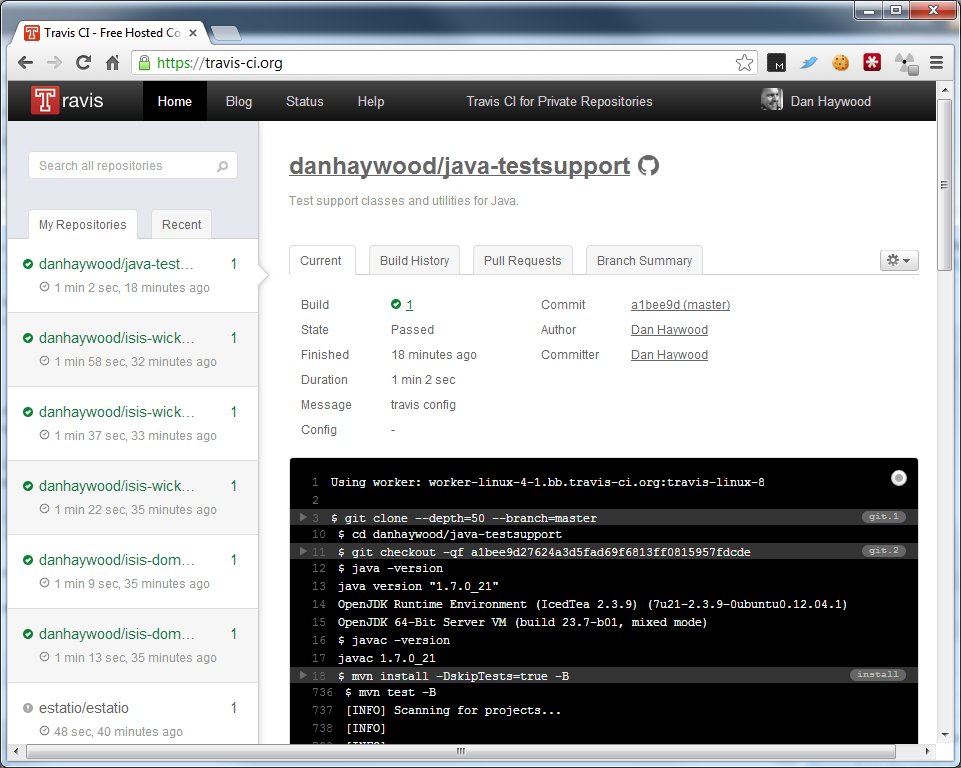
Step 5: push your change, and let Travis do its thang. After a minute or two, the home page should show the status of all your builds, with a console view for any that failed:
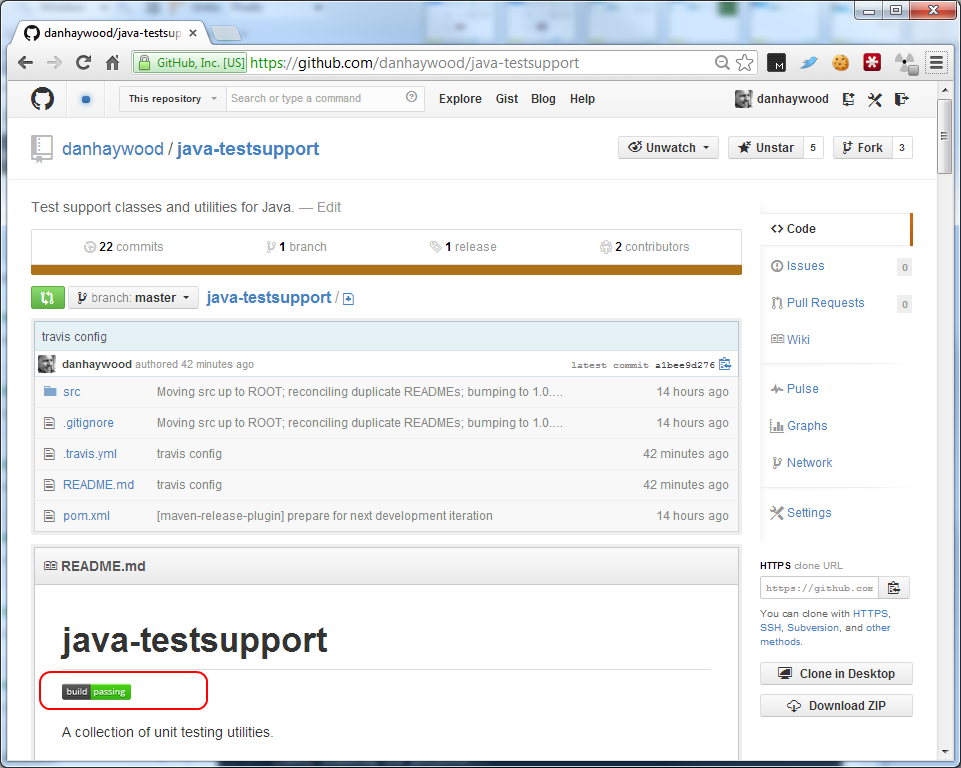
Step 6: over on your github page, you should be able to see the status too:
And honestly, that’s all there is to it. Ridiculously easy.